Test-drive Windows 11 in VirtualBox
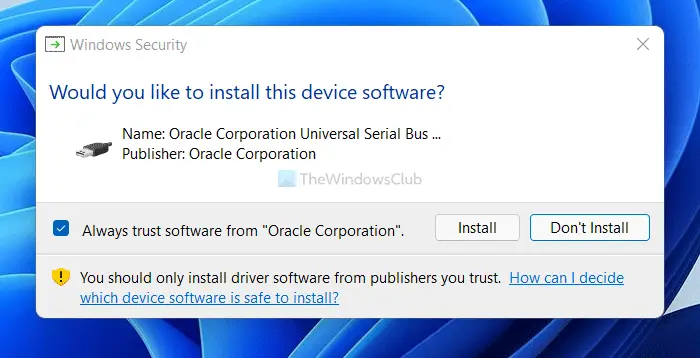
Let us see how it’s done, right from installing & configuring VirtualBox. For each step, the corresponding Screenshot is provided that will guide you as you can refer to it before taking that step. There are many VM’s but here will be using VirtualBox. For running it as VM, I wouldn’t run it on less than, say 4GB for 64 bits machines. Also, your PC should support virtualization – Intel Virtualization Technology (Intel VT) or AMD Virtualization (AMD-V) technology. First of all, check if your PC supports Virtualization. The main advantage of running the OS as VM is, you don’t have to make changes to your Hard disk – so no need of creating new partitions, etc., to install Windows 11 CP. You just install VirtualBox and create a new Windows 11 VM and run it on your present OS. First, download Oracle’s VirtualBox from here. Next, have an image of the Windows OS ready. If you do not have the Windows 11 ISO, follow this guide to download Windows 11 ISO from the official website. Let us start the installation of VirtualBox. During the install, you might be asked ‘Would you like to install this device software’. Just say ‘Install’ and proceed.
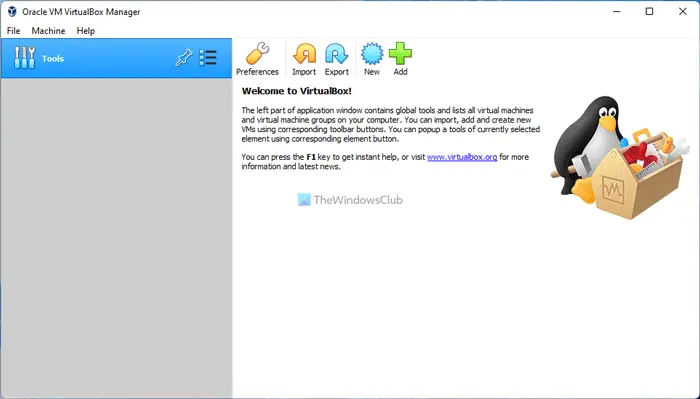
Follow the onscreen instructions during install, as you reach this screen. Click on ‘New’ to start the process of creating a new virtual machine.
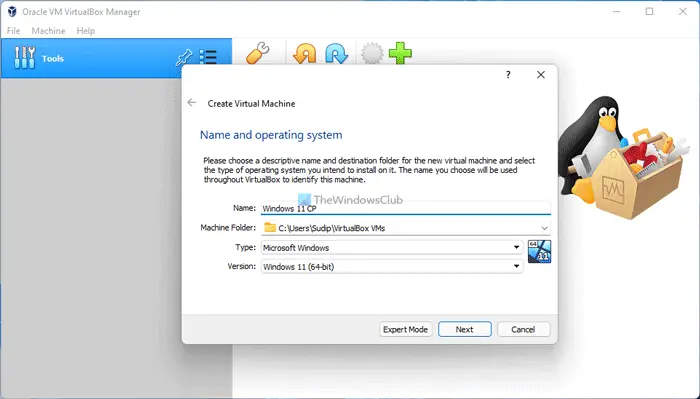
Follow the Wizard instructions Enter a name; I have entered the name as ‘Windows 11 CP’ or anything else as per your wish. In ‘OS Type’ > for Operating System, choose Microsoft Windows and for version, choose Windows 11. (Check if it’s there is a newer version of VirtualBox available).
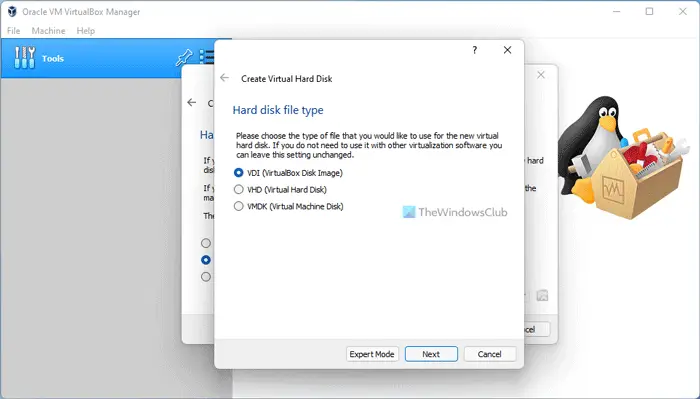
In the next screen, you have to select the amount of RAM you want to allocate to the VM. If you have 4GB, allocate a bit less than 50 %, which is a bit less than 2GB. Next, check the ‘Create new hard disk’ option. Select the default VDI option for the type of file for the new virtual disk as we will be running this on VirtualBox.
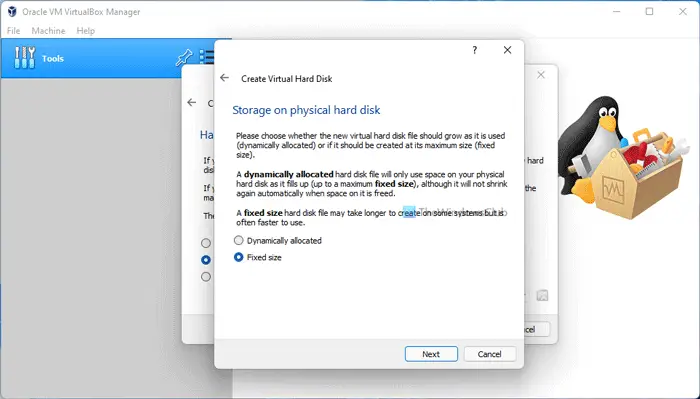
Next select ‘Fixed size’ for the virtual disk file as I assume you’ll at least allocate 20GB for it. Fixed-size will be faster to use.
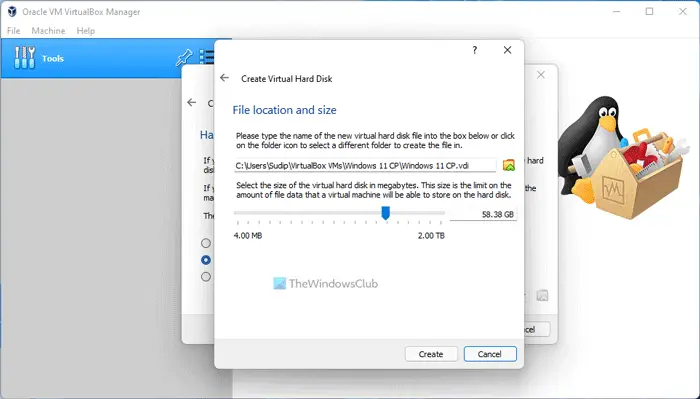
Next, provide the location for the Virtual disk to be created. I have left it at its default location on C drive. And provided 20GB as its size. So once all this configuration is done, it’ll provide the summary page. Check the parameters and press the ‘Create’ button.
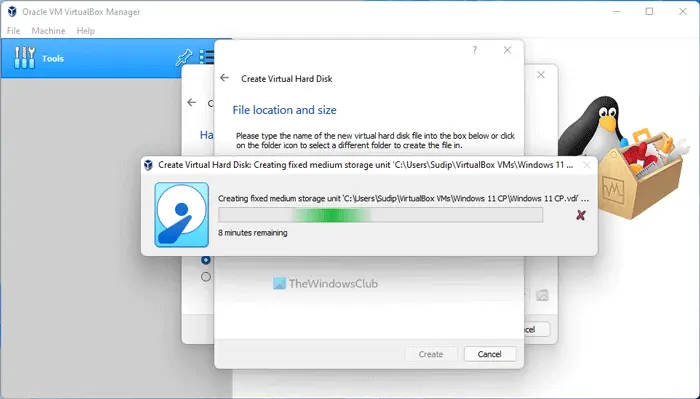
The creation process begins and takes a bit of time depending on the kind of machine you have.
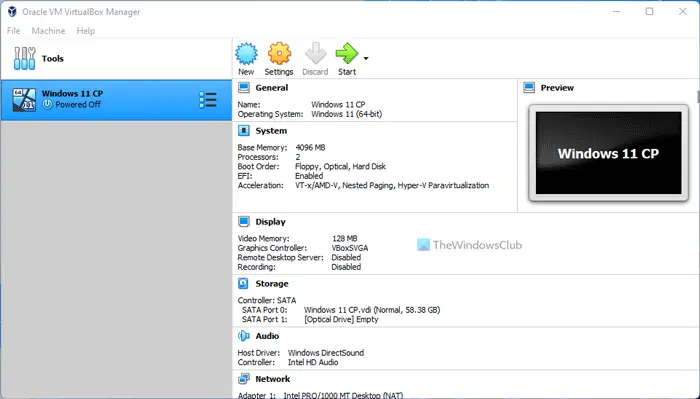
Note that you can alter many of these configurations at a later stage also. So you can further tweak these settings using the ‘Settings’ option from the main window. Once the virtual disk is created, you’ll get this window. Let us start with tuning.
From the Settings > System > Motherboard, make sure ‘Enable IO APIC ‘ is ticked, Adjust Base memory a bit less than 50% else you’ll see the warning as shown. Set ‘chipset’ to ICH9. Though you can also use PIIX3 but may have poorer performance.
Next, we will see System > Processor and check ‘Enable PAE/NX’ in ‘Extended feature:’ and if you have a multi-core processor, you can set it to use 2. Else leave as it is. Now in System > Acceleration, Enable VT-x/AMD-V and also Nested Paging. Now moving to settings> Display (in the left pane) Enable both 2D and 3D video acceleration and increase the video memory via slider as per your system. Next, we will see Settings > Storage. Under SATA, enable ‘Use host I/O cache’. If you see that your Windows 11 ISO gets mounted then fine else use the IDE with ICH6 type controller.Read: How to make VirtualBox VM full screen.
Test-drive Windows 11 in VirtualBox
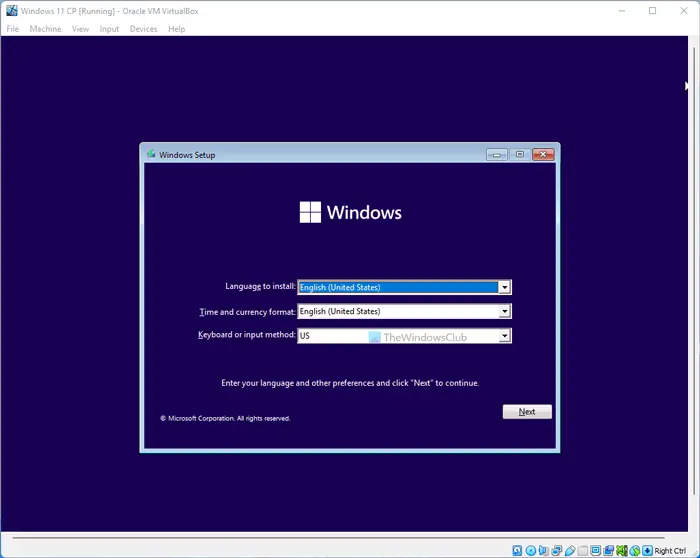
Now the Windows installation will begin. The installation and its screenshots will be similar to what you expect in a normal installation on native hardware. Just follow the onscreen instructions.
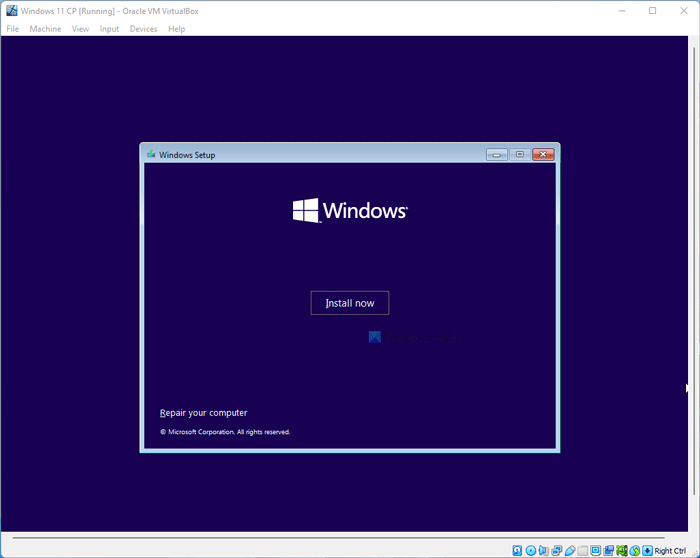
Click on Install Now.
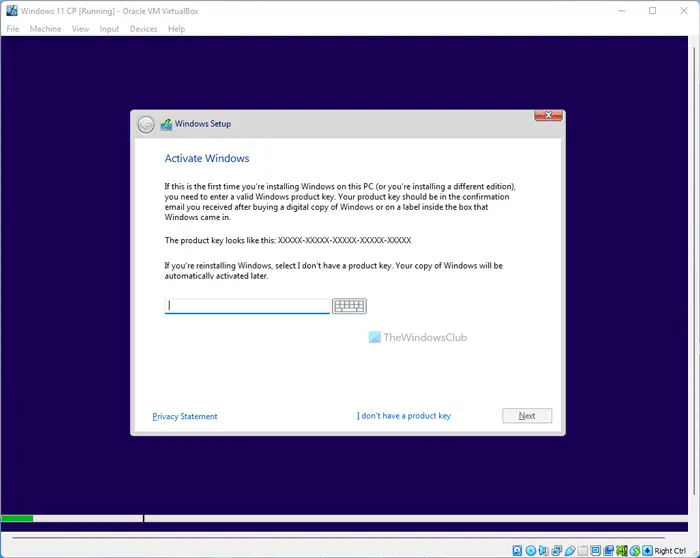
Enter the Product Key which is given to you. Also, note the keyboard icon which opens up an online keyboard – useful for installation on a Tablet
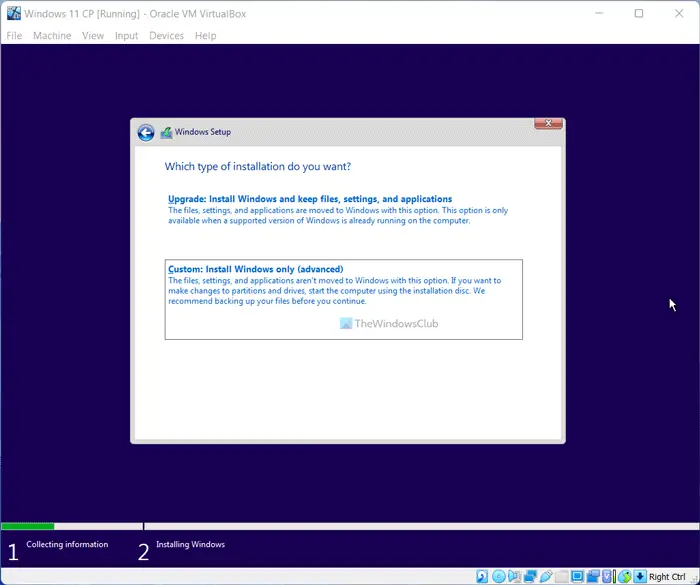
In the next screen, accept the License terms and then choose ‘Custom install Windows Only (advanced)’ option.
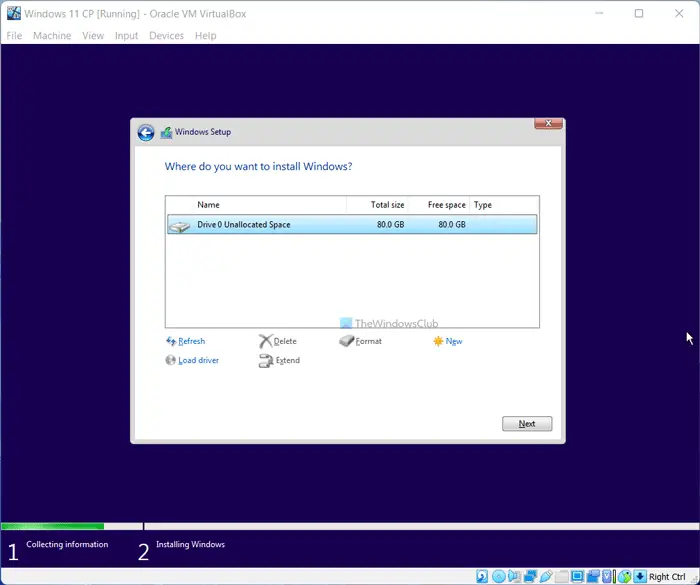
This will show the 20GB space on which this installation will be done which we had allotted earlier.
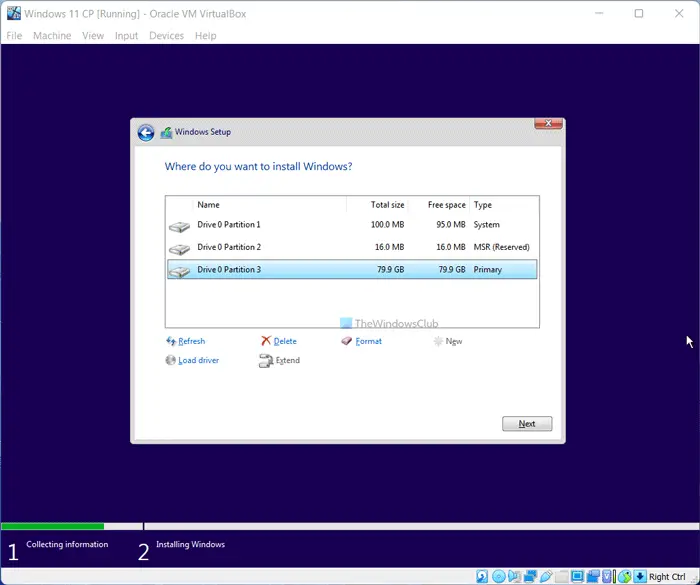
If we were doing a regular install (not on VirtualBox) or a dual install, that is on a Hard disk with different partitions; then we may see this kind of screenshot.
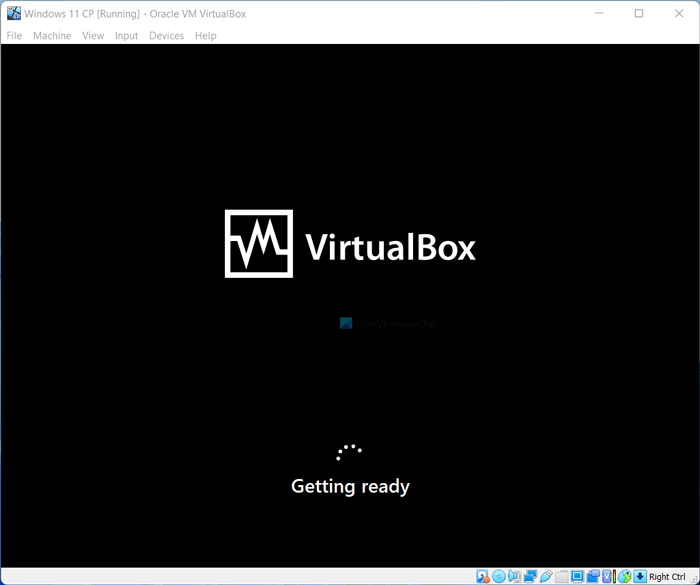
Next, the installation will begin and will take 10-15 minutes or more – depending on your machine. The computer will also restart during the installation.
After that you’ll get:
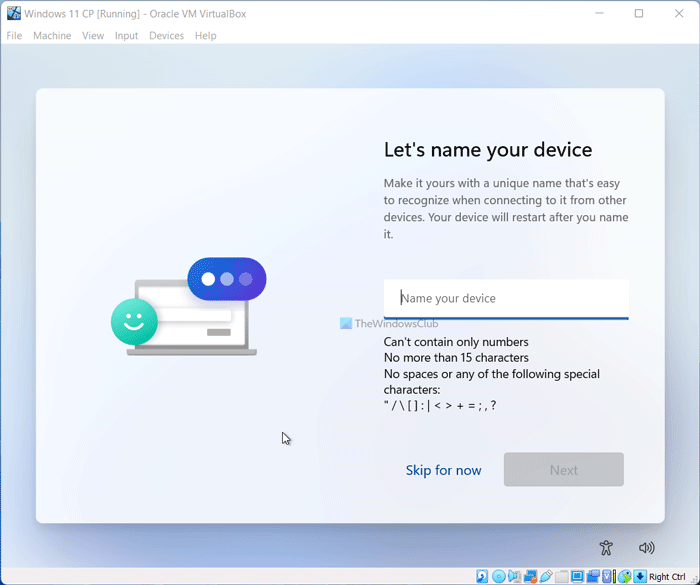
You will also get the Personalize option
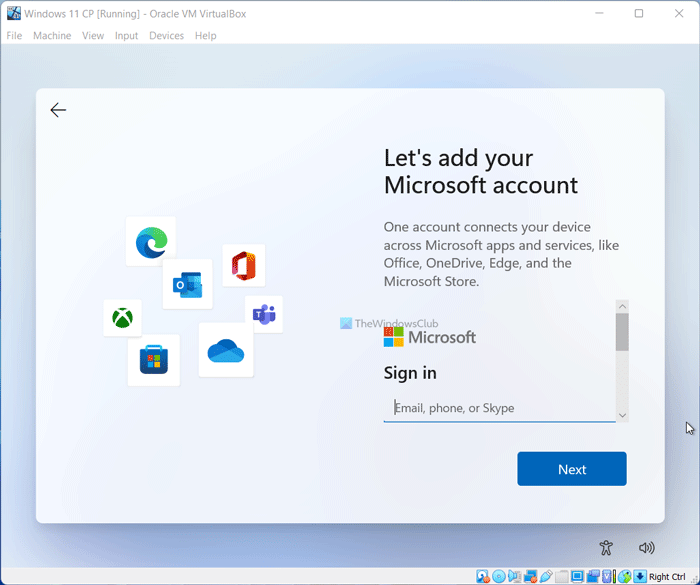
Next is the option where you have to choose if you want to sign into Windows using Microsoft Account (Live ID) or your Normal Local Account. And its benefits are listed on the screen. If you don’t want to use your Live ID to sign in, just click on Next.
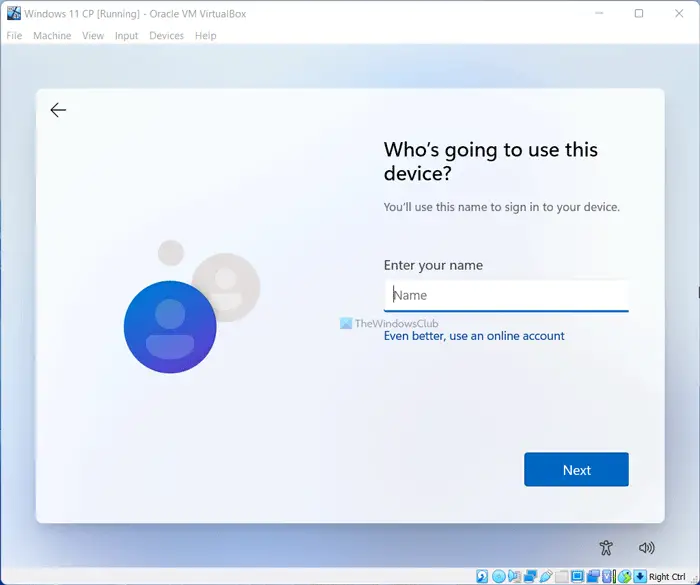
And here click on ‘Local Account’. Here you can read what benefits you get using a Microsoft account. One of the benefits is you can access Windows Store. Even if you skip Microsoft account now, later after installation, you can change the option to signing in to your PC.
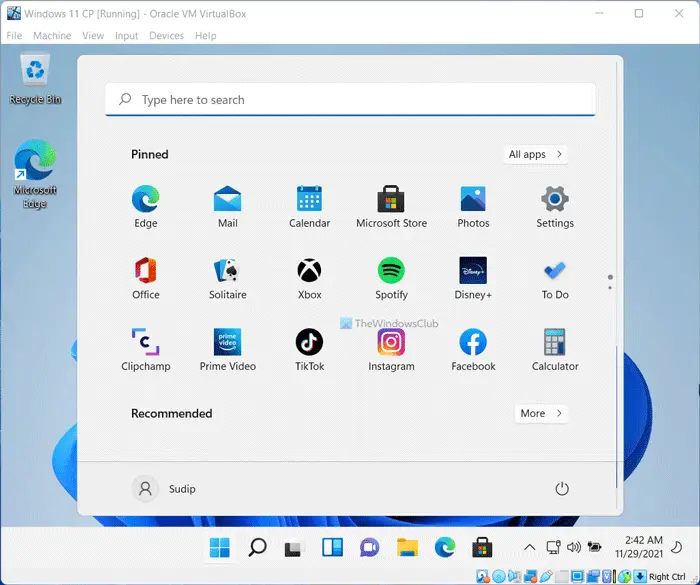
Enter the username & password, retype the password, the Hint, and click on Finish. Now you’ll see ‘Finalizing your settings’ window, ‘Preparing’ Window, and then the Windows 11 UI.
Thus you can start and play around with Windows OS from within your present OS. Then you can shut down the Windows to be back again on Windows 11. One can switch any time between the 2 OS. In this way, one can play around as a Virtual Machine.
How do I run Windows 11 on VirtualBox?
To run Windows 11 on VirtualBox, you need to download VirtualBox and the Windows 11 ISO from the official website. Then, you need to set things up in VirtualBox – like Memory/RAM, virtual hard disk type, amount of hard disk, number of threads, etc. Following that, you can start the installation without any error.
Will Windows 11 run in VirtualBox?
Yes, Windows 11 will run smoothly in VirtualBox. For that, you need to have the correct amount of RAM, enable virtualization, etc. At last, you can create a virtual machine in VirtualBox and start the installation process. The best thing is that VirutalBox supports Windows 11. That said, you won’t find any compatibility issues while using Windows 11 on VirtualBox. That’s all! Hope it helped.