The 0x000007b error usually indicates a conflict from the software with incompatible architecture. For example, attempting to use 32-bit software on a 64-bit system. You can, however, run 32-bit programs on a 64-bit computer.
If you see a dialog box stating that The application was unable to start correctly, Error Code 0xC000007B, STATUS INVALID IMAGE FORMAT, when trying to launch a program or game, this means the application is not compatible with the architecture of your Windows 11/10 PC or is missing dependencies. This error could also show up when you use an outdated .NET Framework, Direct X, a Driver, or corruption in your system files. It may also appear when there’s an issue with your hard drive. While 0xC000007B occurs with many other programs, STATUS_INVALID_IMAGE_FORMAT means that when you try to run an application designed to run on 64-bit operating on a 32-bit system. The system fails to load the DLL which is meant for 64-bit and hence gets into a termination state. Apart from this, if you also get pointed to a file NTStatus.h, it means that this can be a file corruption case.
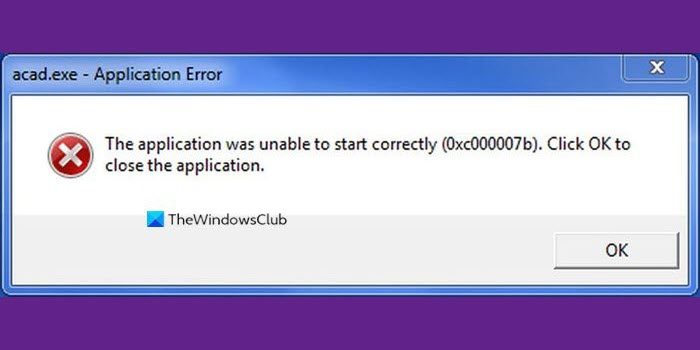
The application was unable to start correctly (0xc000007b)
Having an idea of what causes the 0x000007b error, you’re much better equipped to resolve the issue. Here are the fixes that we’ll explore in this section:
STATUS_INVALID_IMAGE_FORMAT
The first thing you should do is click on OK to close the application. Second, try installing the media again to see if it works for this time. If not then try the following methods below: Next, we’ll get to the details of the above fixes as well as the necessary steps to carry them out successfully.
1] Launch the app in compatibility mode
The compatibility mode is useful for running programs that aren’t compatible with your system. If you suspect that an application’s compatibility is the cause of the error, right-click on the shortcut and go to Properties. Switch over to the Compatibility tab of the Properties window and if you know an earlier Windows version that handled the program correctly, check the Run this program in compatibility mode for option. Alternatively, click on Run compatibility troubleshooter. Next, select the stable Windows edition from the Compatibility mode dropdown, and hit the OK button.
2] Enable the .NET Framework
The most common cause of the 0x000007b error code in Windows 11/10 is that the system disables the .NET Framework by default. You must get this enabled to use Origin. To enable the .NET Framework on your computer, press the Windows key and search for Control Panel. Launch Control Panel. Change Control Panel to the Category view from the link in the top right-hand corner and then click on Uninstall a program Under programs. Here, select the Turn Windows features on or off link in the left-hand pane.
Mark all the checkboxes for .NET Framework. They should be at the top of the list. After enabling the .NET Framework, click on the OK button. This stops the 0x000007b error.
3] Update DirectX
Another basic fix for the issue mentioned above is to update or reinstall DirectX. By updating or reinstalling DirectX, you can just replace the corrupt or incompatible components of DirectX from your computer. We’ve identified an outdated Direct X as a factor that can cause the error with the code 0x000007b. Updating Direct X will improve your gaming and system performance also. To update it, visit the Microsoft DirectX website and download the latest version. After downloading the Direct X setup file, double-click on it to begin the installation. In severe cases of the 0x000007b error, the Direct X installation may fail. You can also try to run the DirectX Diagnostic Tool.
4] Reinstall Visual C++
If you still notice the issue after the first fix, reinstall Visual C++ Redistribution. First, you have to uninstall what you have already. Search for Add or remove programs in the Start menu and select it. Click on all the Visual C++ versions on this list and uninstall them. After uninstalling various VC++ software, open the linked web page and scroll down to the first section after Summary. This should be the latest version. Here, click on the links beside x86 and x64 if your computer is 64-bit because you have to download both the 64-bit and 32-bit versions. Systems on the 32-bit architecture need to download only x86.
5] Replace the corrupted DLLs
Sometimes, corrupted DLL files being faulty can also cause issues in applications while they are executed. You need to fix these missing or corrupted DLL files.
mfc100.dllmfc100u.dllmsvcr100.dllmsvcp100.dllmsvcr100_clr04000.dll
The best way to do this would be to run System File Checker or DISM.
6] Reinstall Application with Admin Privileges
Restart your Windows PC, and then install the application with Admin privileges. You can right-click on it, and then select Run as Administrator. If your account is a regular account, then make sure to ask an admin to help you install it by entering his password when prompted.
7] Install & Update Dependencies
Many a time programs and applications need to have drivers, and supporting software installed to work properly. While the usual installation takes care of it, but since we are facing this problem of abnormal termination, it’s time to do some manual checks.
a] Install qualified drivers
Some high-end applications and games need to have correct and valid drivers to work. They will not work with generic drivers. Microsoft has this Windows Hardware Quality Labs testing or WHQL Testing. This makes sure that drivers meet the correct experience, and pass through proper testing before certification. So when you are installing drivers, make sure they are qualified drivers for that Windows.
b] Update or Download and install DirectX
Microsoft DirectX is a suite of technologies developed by Microsoft to provide hardware acceleration for heavy multimedia applications such as 3D games and HD videos. While Windows 10 has Directx 12, the earlier version used DirectX 11. Make sure to follow the instructions to update or install DirectX on your Windows 10 PC.
c] Install the Microsoft DirectX End-User Runtime
The Microsoft DirectX End-User Runtime provides updates to version 9.0c and previous versions of DirectX. Follow this link to download, and install it right away.
d] Install or update the .NET framework
This framework is used by applications, and games during development. This means without the runtime files installed on your Windows 10 PC, it will not work. Installing or Update .NET Framework is easy. You can also verify it using the .NET setup verification tool.
8] Use the CHKDSK utility
The CHKDSK utility is handy for finding and fixing hard drive issues. It’s a command-line tool that you can use without additional software or hardware. Search for cmd in the Start menu and right-click on Command Prompt. Select the Run as administrator option. Input the below command in the Command Prompt window and press the ENTER key. Command Prompt may now ask you if you want to scan your system on your next restart. Hit the Y key to accept this and press ENTER. Your computer will now restart and begin to scan and repair problems on your hard drive. Hope something helped. Other similar The application was unable to start correctly errors:
The application was unable to start correctly (0xc0000142)The application failed to initialize properly (0xc0000135)The application failed to initialize properly 0xc0000005The application was unable to start correctly (0xc0000022)The application was unable to start correctly (0xc0000018)The application was unable to start correctly (0xc0000017).